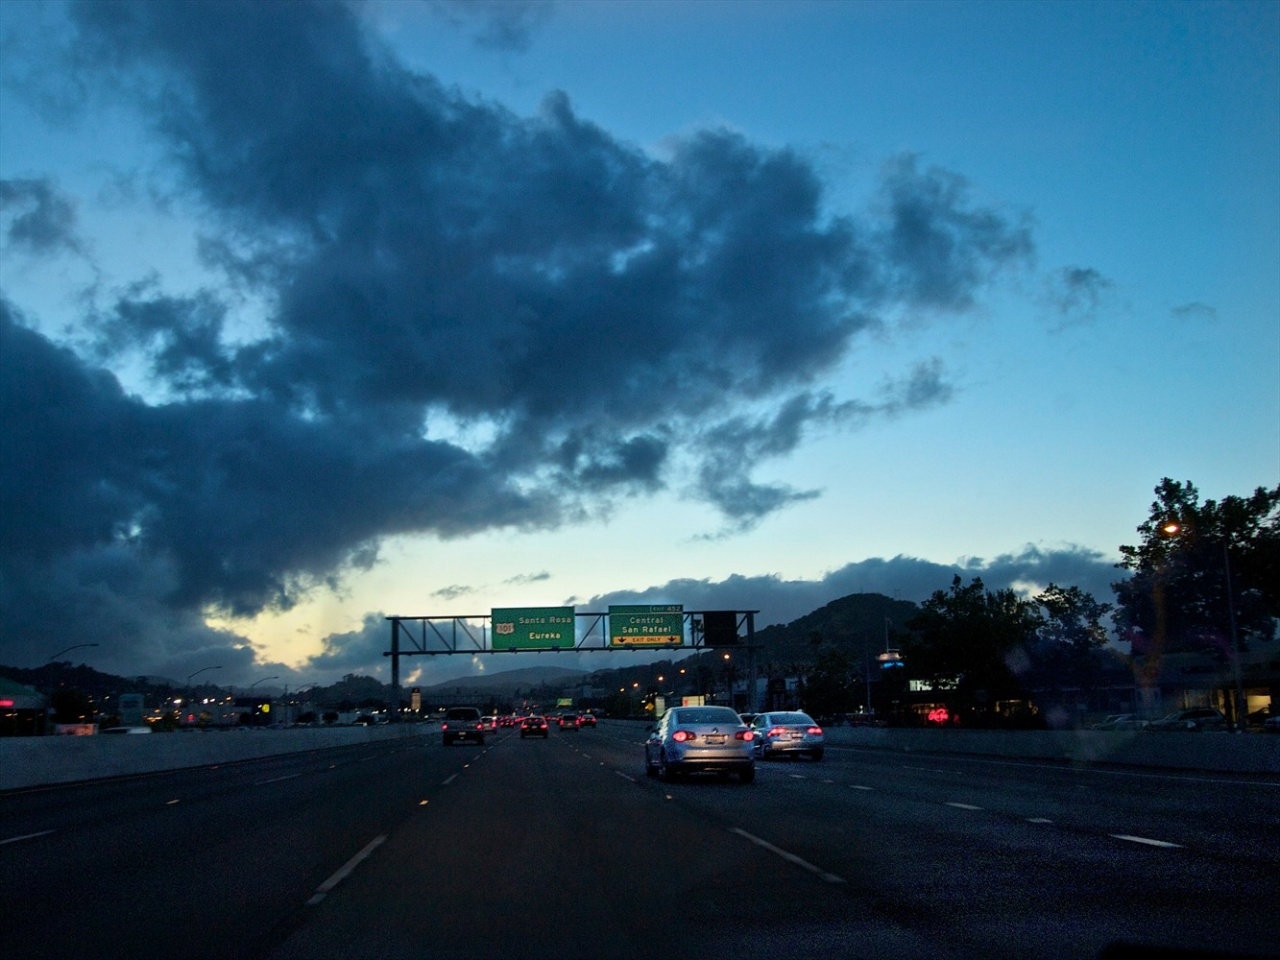
As I promised yesterday, this image was edited using OnOne Software’s Perfect Layers. This is the last image from my drive a short ways up Route 101 north of San Francisco. It might not be the best processing job I’ve done, but it’s as good as my the image and my skills could accomplish, and Perfect Layers helped me do it faster than I could have using any other tool. Here’s how:
- For the sky, I increased the Definition, Saturation, and Vibrancy sliders in Aperture, plus I lowered the Exposure setting. I could have done the first three with brushes, but there is no Exposure brush (the Burn brush probably comes closest), and I would have had to brush the same area 4 times.
- For the foreground, I mostly wanted to do the opposite, especially raising the Exposure.
- Finally, I also wanted to use a special mix, the details of which I do not remember exactly, for the closest cars and the highway signs overhead.
Combining all of these with a combination of sliders and brushes in Aperture would have been tedious at best and perhaps not possible. I would have had to go to Photoshop, and maybe use plugins. Perfect Layers let me avoid that. Instead I made 3 versions of the same image in Aperture. Because of the way both Aperture and Lightroom work, this does not create separate image files. Rather, both programs work from the same raw image (or whatever format your original imported image is in) and they use the program to create different versions that do not destroy the original, and also do not require creating separate raw files. I made three versions: in one I moved the sliders necessary to the effect I wanted in the sky, in the second I created the look I wanted for the foreground, and in the third I perfected the look I wanted in the cars and highway signs. Then I opened up Perfect Layers with all three images selected.
The three versions opened in that program as separate layers. I put them in the order I wanted, and used masks and brushes to blend them as I would have done in Photoshop. Once I was done, I merged the layers together and saved the result as a new file. Perfect Layers. gave me the option to save as a JPG, TIFF or PSD file. I tried the last two, and saw no real difference in quality.
Again, as I mentioned yesterday, if you already own OnOne’s Perfect Photo Suite 5.5, you’ll get Perfect Layers as a free upgrade, which is pretty awesome. If not, you can add Layers and Masking capability to both Aperture and Lightroom by buying Perfect Layers for the pre-order price of $99.95. Once released, its regular price will be $129.95.
You can also use the coupon code MGARBOWSKI to get 15% off any regular price purchase at OnOne’s site. So if you think now is a good time to get the entire Perfect Photo Suite 5.5, or if you are reading this after the promo phase for Perfect Layers ends, you can take advantage of the discount.
There is a lot of additional useful information over at the OnOne site, where you can download the demo, watch several video tutorials, or place a pre-order.


Chrisdmrf
4 Jun 2011I love that sky, so much detail